Cue the music, “Back in the Saddle Again,” please. It’s time this flu move along and never return! I’ve got work to do, being Chief Cheerleader in our Dresden Sew Along, dang it!
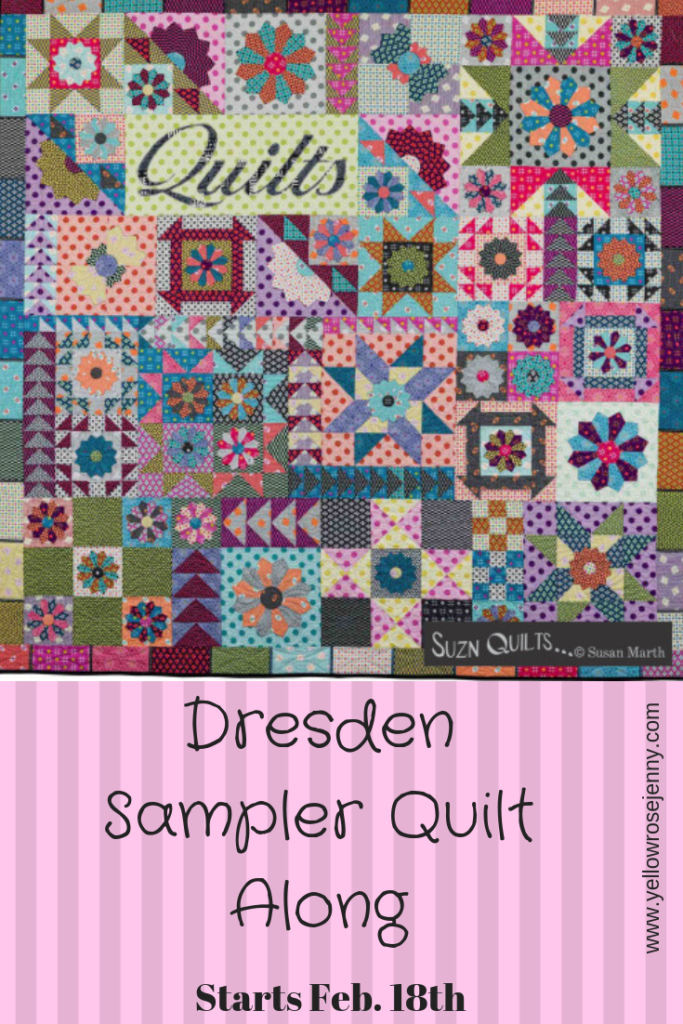
Are you sewing along?
I sure hope you’re jumping in and working to create your own masterpiece! I’m really happy with the process I made, even while fighting the flu, coughing like a crazy person and dizzy to boot! I’ve got to warn you; I am changing a few blocks in Susan’s quilt to better suit my more traditional tastes. AND for some, my desire to finish this quilt sooner rather than later may result in too much to do each week. THAT’S OK! You do you and what you’re able to handle. Just. Finish!
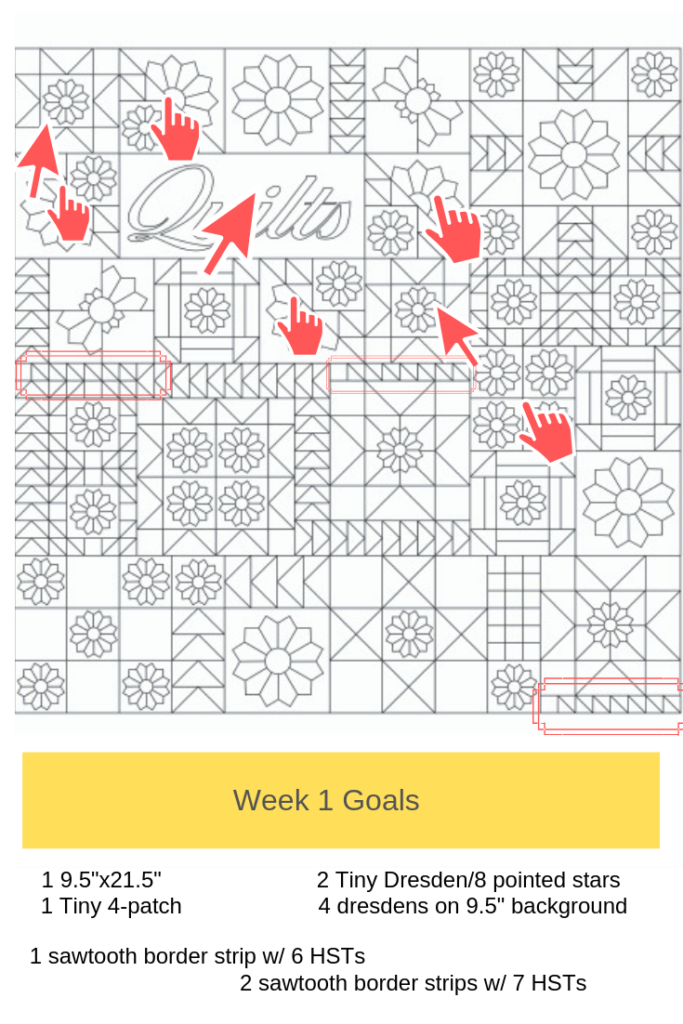
Week 1 Goals
The list may look intimidating but everything should be able to be completed within 2-3 hours. See. That’s not too much when you think it’s an assignment for an entire week’s worth of work. For me, the longest time is always spent trying to pick fabrics. If you have any suggestions on a cure for that, leave me a comment please. I waste SO much time with indecision!
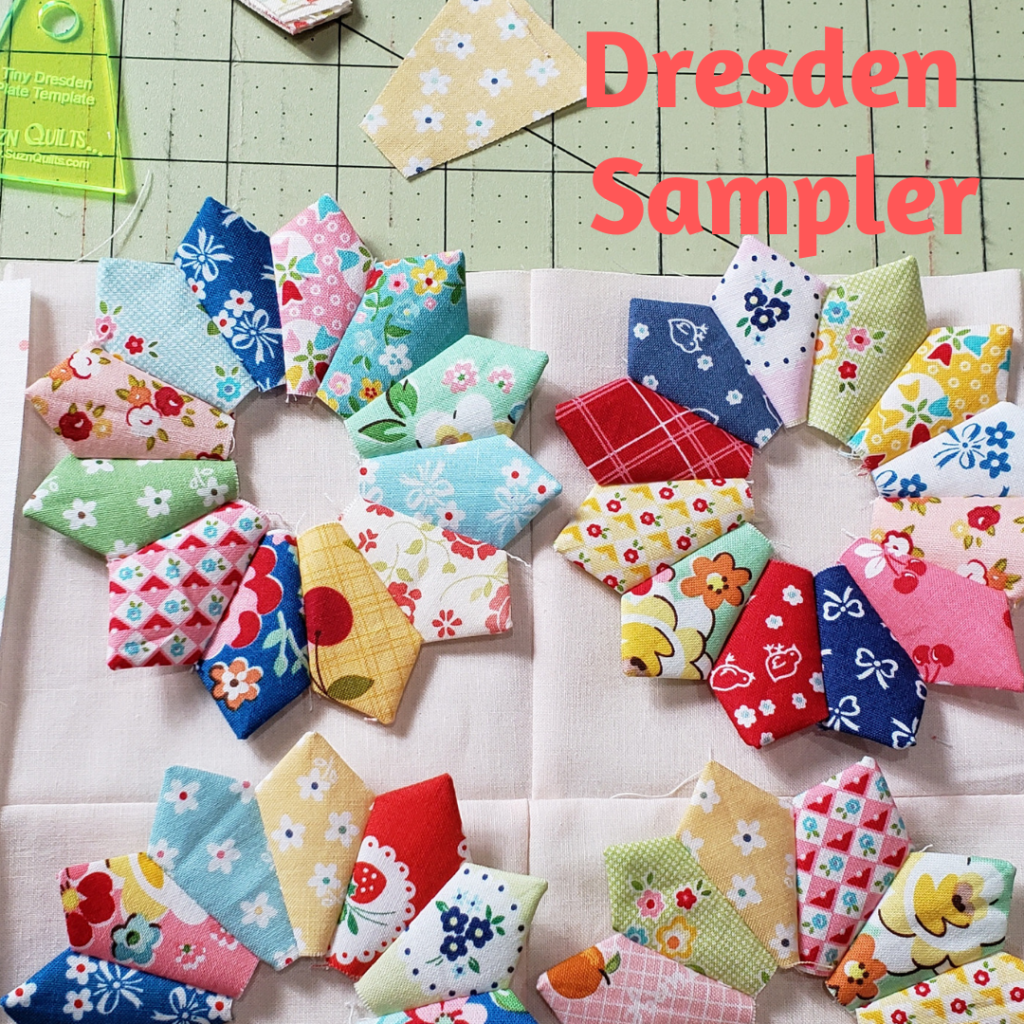
How to make a dresden
This is easy, so take a deep breath and let’s dive in!
- You need to decide if you’re making scrappy or one-fabric dresden plates.
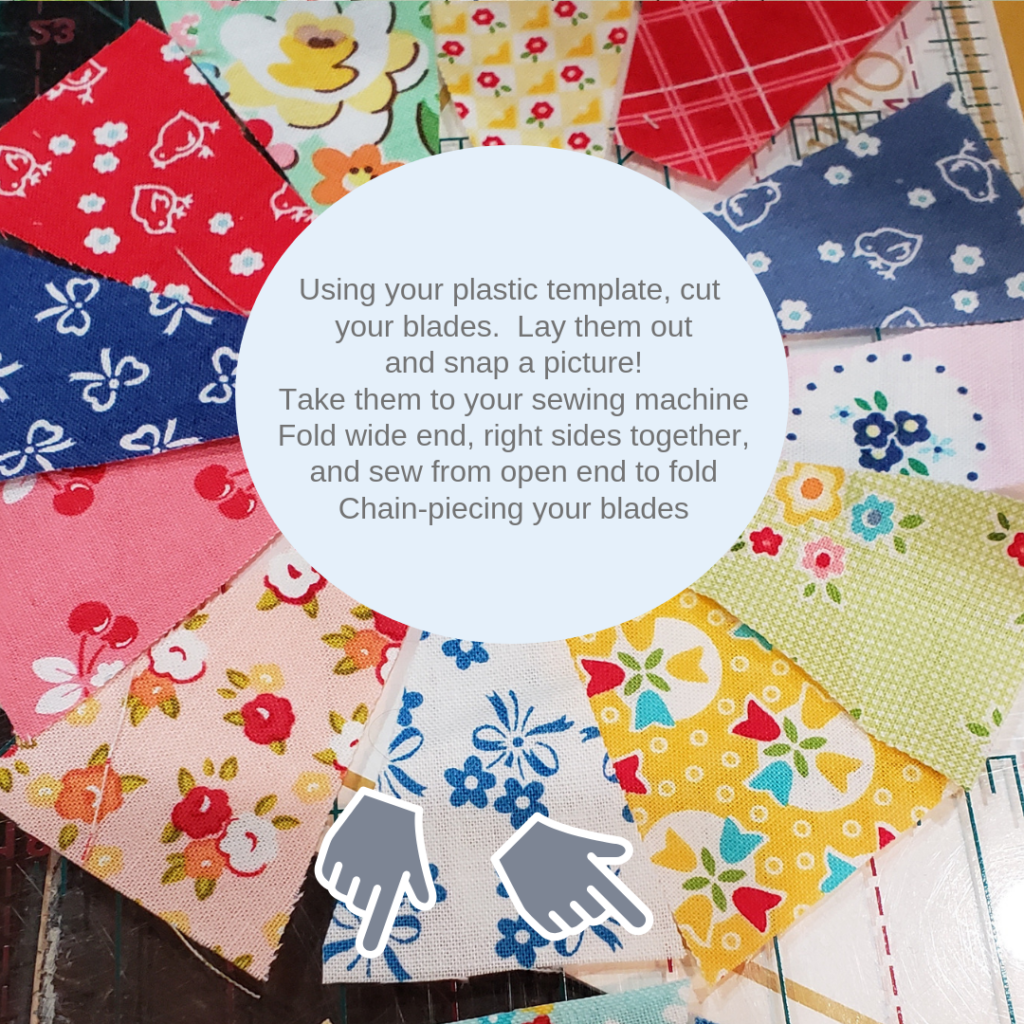
- If cutting scrappy, each blade will need to be cut individually using the template.
- If you’re going for the one-fabric look, stack your fabrics to save on cutting time. Cut a strip of your fabric the width of your template, place template on fabric and cut. Rotate and flip template; make another cut. Continue flipping/rotating the template along strip of fabric.
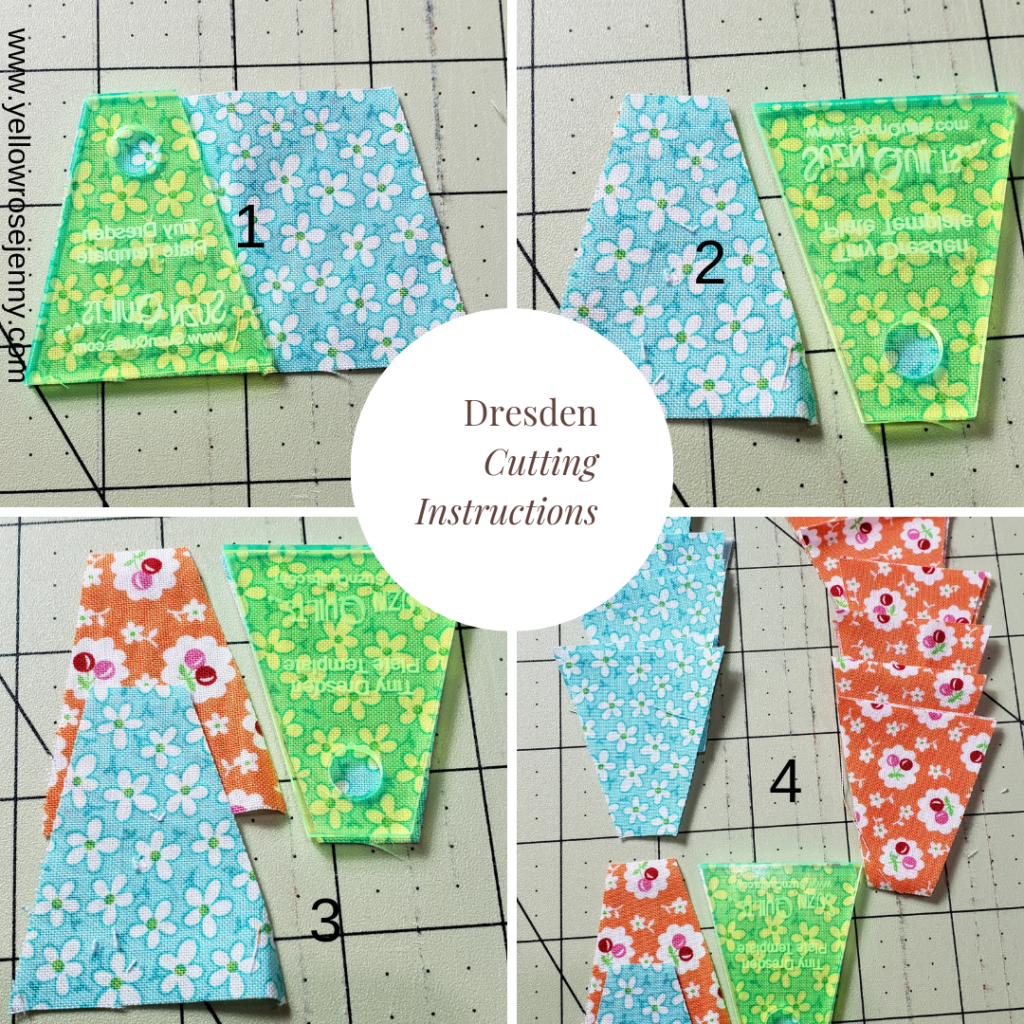
- Lay out design of dresden plate.
- Fold each blade along wide end of cut, right sides together, and sew 1/4″ from edge, open side to fold side. Chain-piece your blades.
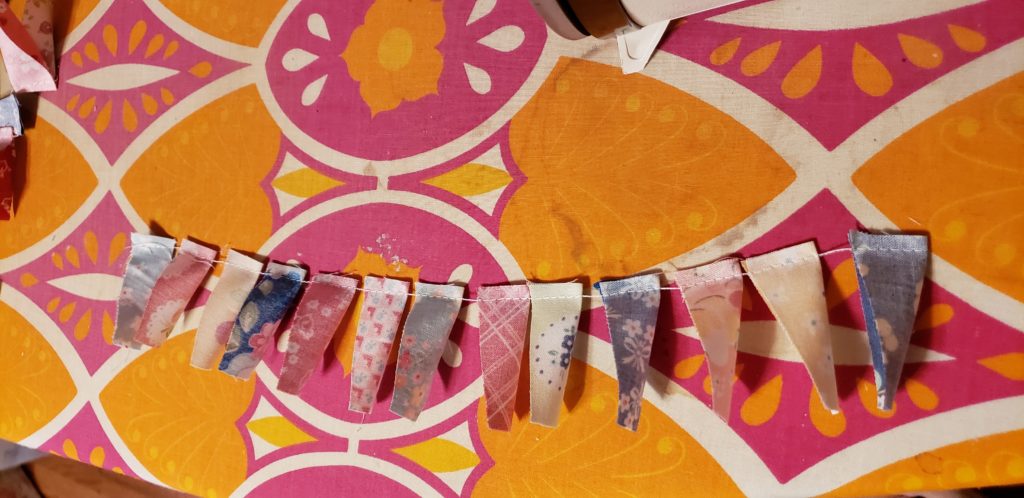
- Snip the threads between your blades. Flip your blades right-side-out and use your finger to push the tip to a point. I use a “Purple Thang” to get perfect points without popping my stitches. See below for link.
- Press each blade to allow each to lay flat.
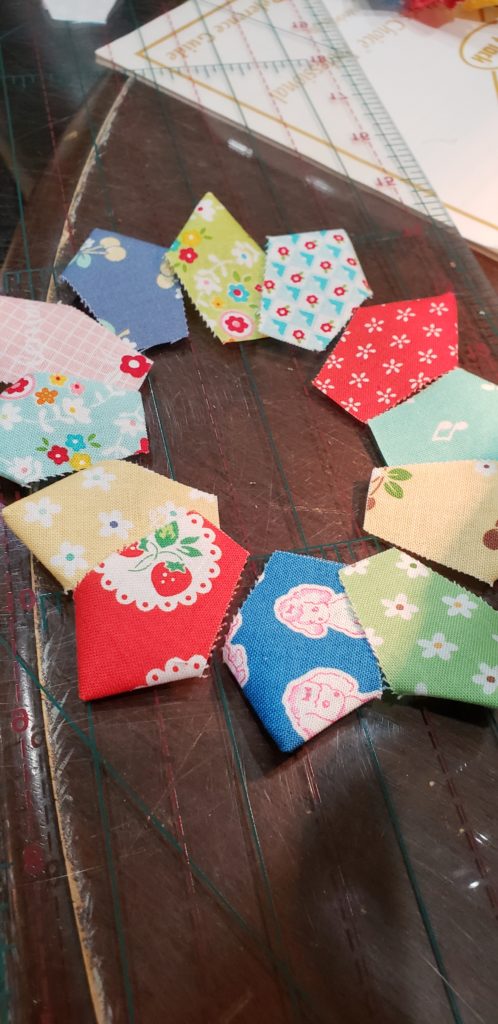
- Lay your blades in the order you’d like them.
- Sew right-sides-together, lining blades up point-at-side with each other.
- Sew with 1/4″ seam.
- Continue sewing until you’ve formed a circle.
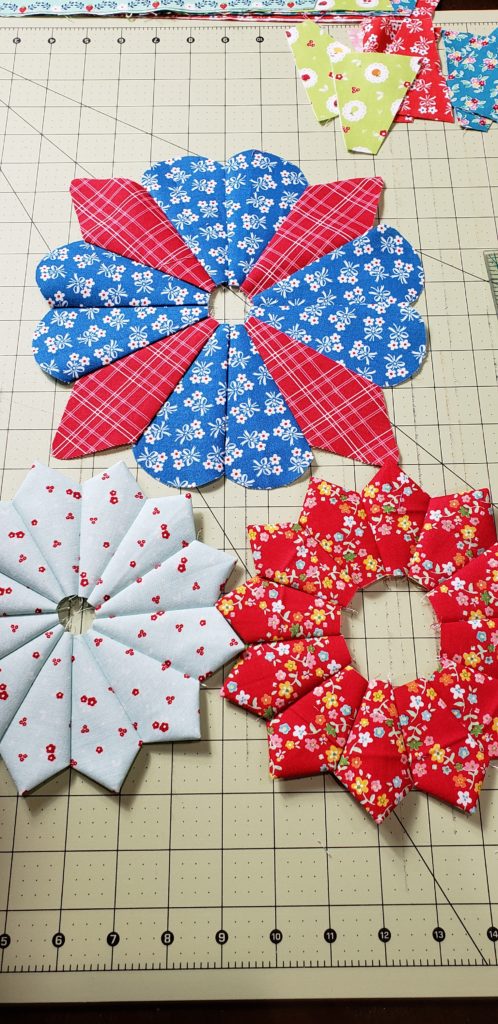
Dresden Sampler Changes I’ve Made
- I didn’t want to add words to my quilt, so I substituted a 9 1/2″x 21 1/2″ block with more dresdens in its place.
- I traded out the Dresden Filler Blocks for 4 9 1/2″ finished Dresden plates.
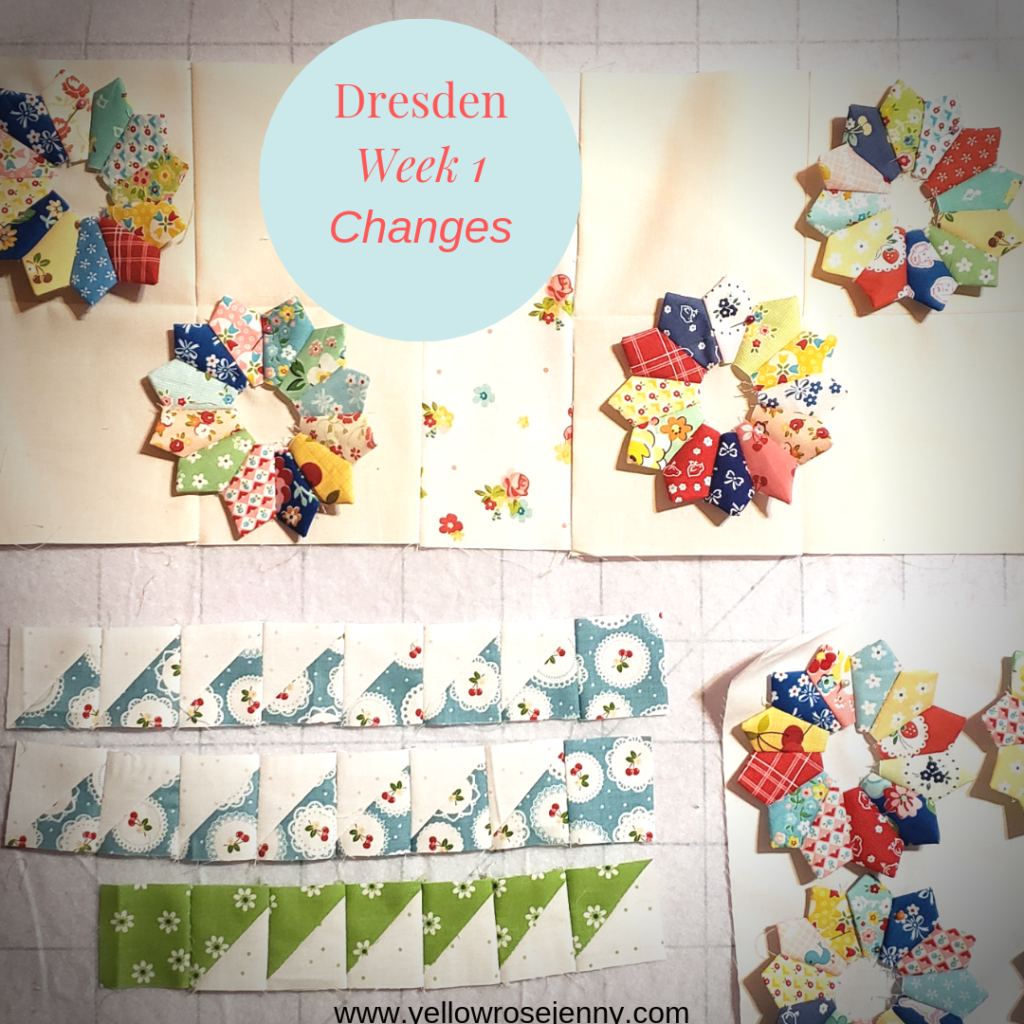
Remember, Susan Marth wrote the book that has detailed instructions for this sew along. I’m really just being Chief Cheerleader to keep us motivated to reach completion! My instructions are meant to be helpful but not a replacement for Susan’s book.
Next week, I will have 4 blocks that we’ll have on our To-Do List. You can do this! If you post pictures on Instagram, please tag me so I may see!

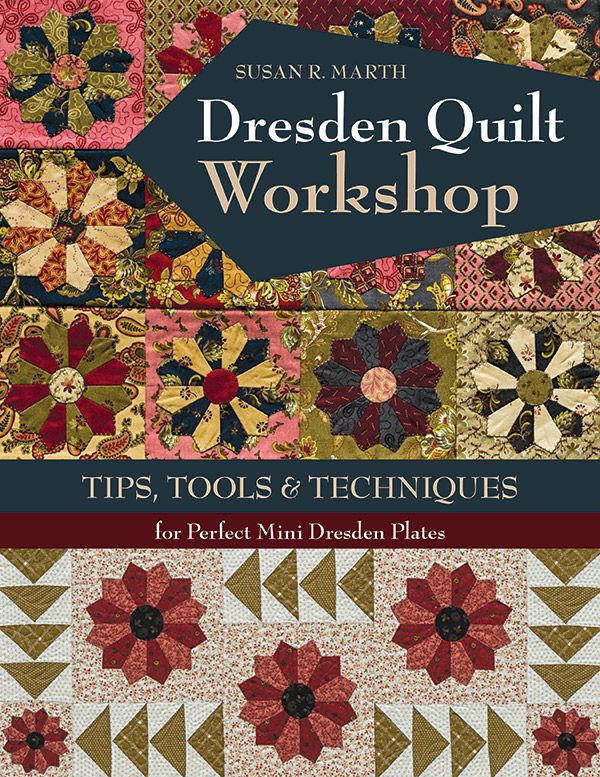
This post contains affiliate links which means if you decide to shop through the link provided, Yellow Rose Jenny will get a small percentage at no extra cost to you. Thank You!
Here’s a link to the Purple Thang that I love using.

